Tap leak guide
How to fix a dripping or leaking tap: a safe step-by-step guide and plumber help
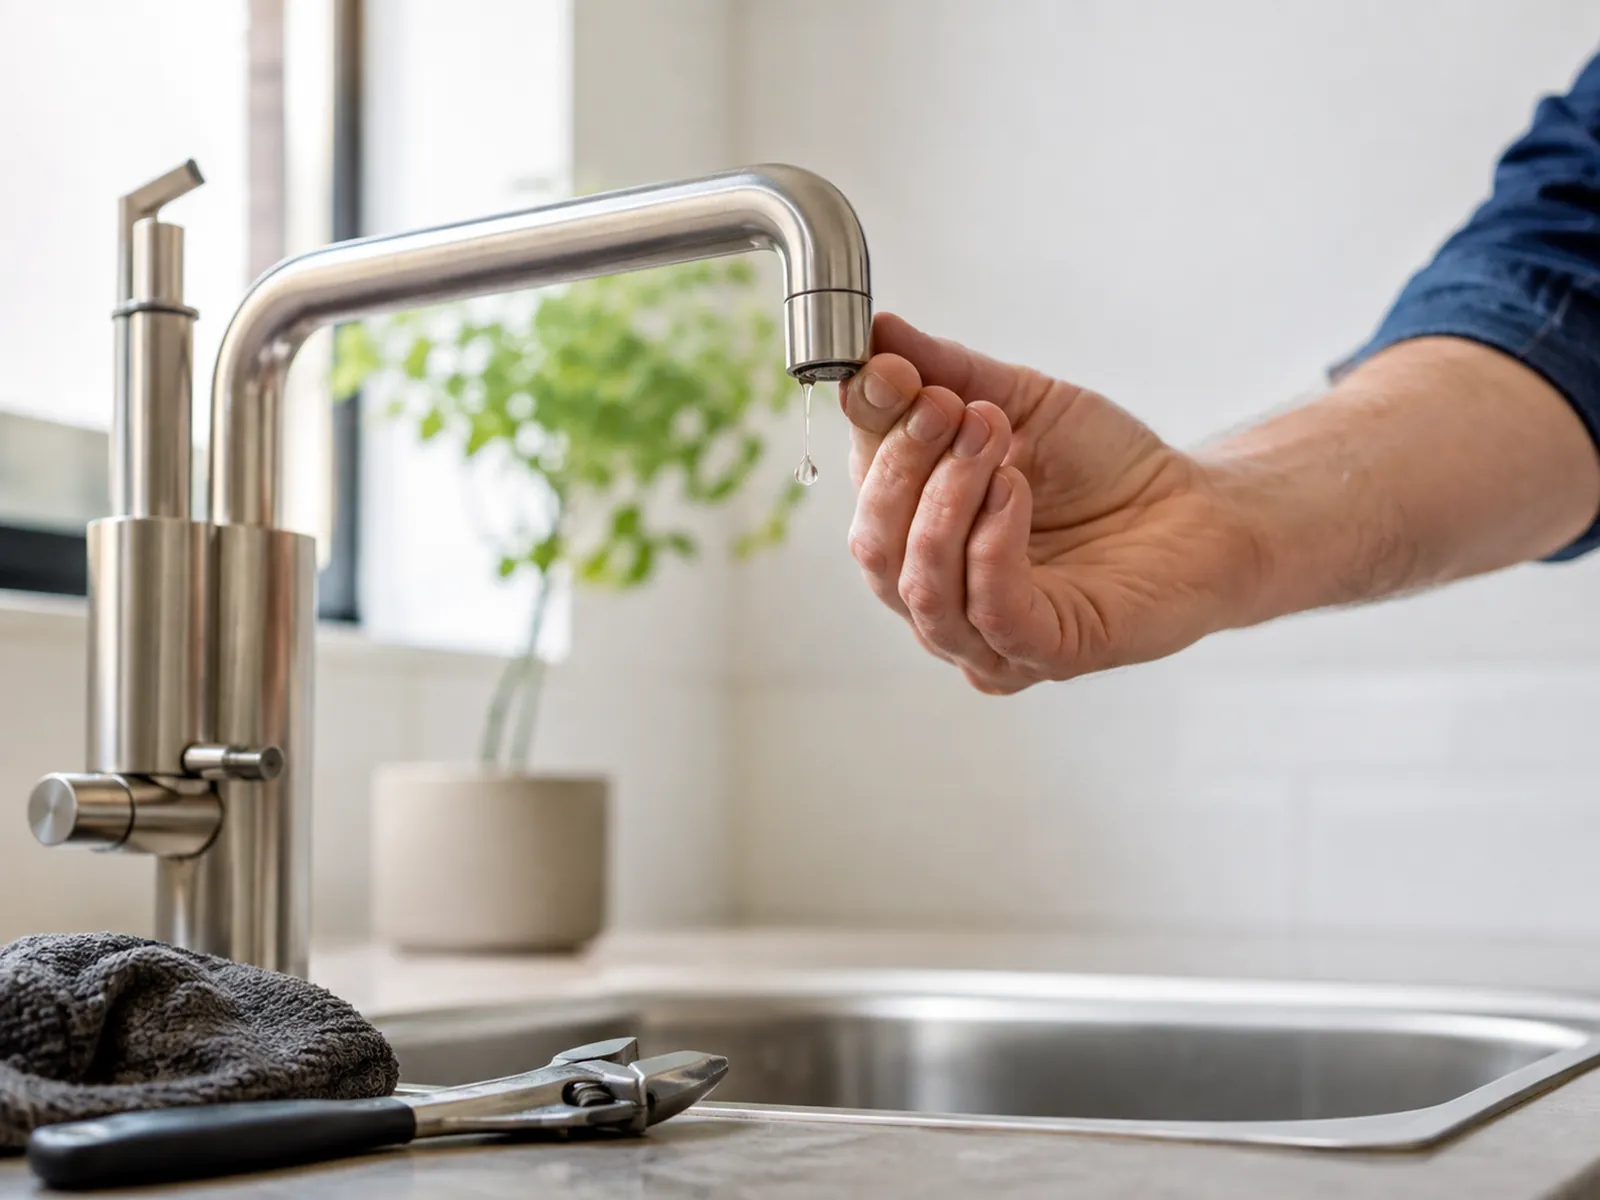
A leaking tap can waste water and damage the area beneath a sink or basin. A slow drip from the spout is often different from water escaping at the handle, base, flexible hose or wall connection. First identify where the leak appears. If water is spreading, close the local water supply only when it is safe and familiar to do so, then contact a plumber.
Stop water damage first
Treat a leak as urgent when water is reaching a socket, appliance, cupboard base, wall or floor, or when you cannot control the flow safely.
Place a container or towel under a small accessible drip. If you know the tap's local isolating valve and it turns normally, you can close it to limit water loss. Do not force a stiff valve. If there is no safe local valve, use the main shut-off valve only if you know where it is and how it works.
Do not continue to use the tap when water is coming from a fixed pipe, hidden connection or electrical area.
Where is the tap leaking?
The tap drips from the spout when switched off
This usually points to an internal part that no longer seals fully. A traditional compression tap may use a rubber washer and valve seat. Modern mixer taps often use a ceramic cartridge or ceramic disc valve. The exact part depends on the type of tap.
Water comes from the handle or base
An O-ring, seal or cartridge can be worn. A leak around the base may also travel down the tap body, so the visible wet spot is not always the source.
Water is under the sink
Check whether the water appears at the tap body, flexible hose, waste pipe or a fixed supply connection. Do not assume every under-sink leak is a tap repair. A loose-looking connection can still be part of the fixed plumbing.
The leak is at a wall or floor connection
Stop using the fixture if possible and call a plumber. Water at this point may be coming from the supply pipe or a concealed connection, which needs a proper assessment.
Likely causes of a leaking tap
Common causes include a worn washer, damaged O-ring, failing ceramic cartridge or a problem with a valve or connection. Limescale and normal use can shorten the life of moving parts, and metal components can corrode. The same symptom can have different causes, so buying a generic part before identifying the tap model may waste time and money.
If the tap was recently installed, moved or repaired, record that detail for the plumber. It can help distinguish a worn component from an installation or connection issue.
How to fix a leaking tap safely: checks and tools you need
- Dry the tap and the area below it. Run the tap briefly, then turn it off and watch where fresh water first appears.
- Check whether the leak is only from the spout, from the handle or at a connection below the sink.
- Look for water damage, corrosion, swelling cupboard material or a wet wall or floor.
- If an accessible local isolating valve is already fitted and works freely, use it to stop the water. Do not force it.
- Note the tap brand or model, the room, when the leak occurs and whether hot, cold or both supplies are involved.
An experienced DIYer may be able to replace a known part on a standard tap when the manufacturer instructions, the correct part and a working isolating valve are all available. This guide is not a substitute for that product manual. Stop if the repair involves a fixed pipe, an unknown valve, a concealed connection or a tap you cannot safely isolate.
Check the tap on both hot and cold settings before deciding where the leak starts. A professional plumber can then tell whether the issue is inside the tap or requires wider plumbing work. This avoids treating a bathroom or laundry leak as a simple DIY project when the supply connection is the real problem.
Dripping taps are a common annoyance, but do not let a slow drip turn into hidden mould, water damage or higher utility bills. If you cannot tell which type of tap you have, do not use a spanner to investigate the spindle or valve seat.
How to fix a dripping tap: when DIY is appropriate
The safe answer depends on the tap. A manufacturer step-by-step guide may tell you to turn off the water, remove the handle, use a screwdriver to undo a grub screw, inspect the part inside the tap, replace washers or a ceramic disc, and reassemble the fitting. Do not copy those steps from a different kitchen tap or mixer tap: cartridges, valve covers, seals and fittings vary.
To learn how to fix one standard compression tap, use only its own manual. It may say to unscrew the handle or metal cover after isolation, inspect the rubber washer and reseat a valve part. Do not unscrew the tap or turn the water back on until you can reassemble it exactly. Modern taps and older compression taps can need different parts.
Only proceed when you can turn off the water with a working isolation valve, confirm that water flow has stopped, identify the exact model and have the basic tools specified by the manufacturer. A screwdriver or spanner is not a reason to force a corroded nut. Stop if you cannot remove the handle gently, cannot see a clear isolation point, or the tap is connected to fixed plumbing.
If a tap lubricant, replacement washer or cartridge is specified, use only the correct product for that model. A part that does not fit can prevent a proper seal and make the leak worse. For an unfamiliar tap, a professional repair is safer than trial and error.
What not to do
- Do not force a shut-off valve, tap handle, hose nut or connection with an adjustable spanner.
- Do not use tape, sealant or glue as a permanent repair for a pressurised water leak.
- Do not remove a ceramic cartridge or fitting without the correct manufacturer information and a confirmed water isolation point.
- Do not ignore a slow leak beneath a sink: small drips can damage units and floors over time.
When to call a plumber
Arrange a plumber when the leak is from a pipe or wall connection, the water cannot be isolated safely, the tap is still leaking after a known part was replaced, or there is any water damage.
Choose a provider for leak repair when the issue may extend beyond the tap itself. Describe the exact location of the water, whether the leak is constant, what happens when the tap is used, and whether you have closed any valve.
For budgets and comparisons, use the separate leak repair cost guide rather than relying on a general repair estimate.
Reduce water waste while you wait
Once the water is safely isolated, keep the tap off and dry the surrounding area. Use a container only as a short-term measure for a minor accessible drip. Check it often. Do not leave an active leak unattended or use a damaged tap until the cause is clear.
A dripping tap can add unnecessary water use and increase a water bill over time. Repairing a confirmed leak is a sensible water-conservation step, but regular maintenance should never involve altering pipework or a valve you do not understand.
Stopping a persistent drip can save water and money, but the amount is not a reason to rush a repair. If the leak reaches the cabinet, wall or floor, preventing damage is more important than counting litres of water.
Sources
Related content
Frequently asked questions
Answers to common questions.
Why does my tap drip after I turn it off?
The internal washer, O-ring or ceramic cartridge may no longer seal properly. A plumber can identify the correct repair once the tap model and leak location are known.
Can I fix a leaking tap myself?
Possibly, but only when it is a familiar standard tap, you can isolate the supply safely and you have the exact manufacturer guidance and part. Do not attempt a repair that affects fixed plumbing or an unknown valve.
Is a dripping tap an emergency?
A small drip from the spout may not be an emergency, but water from a pipe, wall, floor or electrical area needs prompt attention. Treat an uncontrolled leak or visible water damage as urgent.
Should I put tape around a leaking tap connection?
No. Tape may hide the symptom without repairing the connection. Turn off water safely if you can and arrange an assessment.
Why is there water in the cupboard below my tap?
It may be from the tap base, flexible hose, waste pipe or fixed supply connection. Dry the area and identify where fresh water appears, but do not tighten or dismantle an unknown connection.